TZAAR
A game of balance
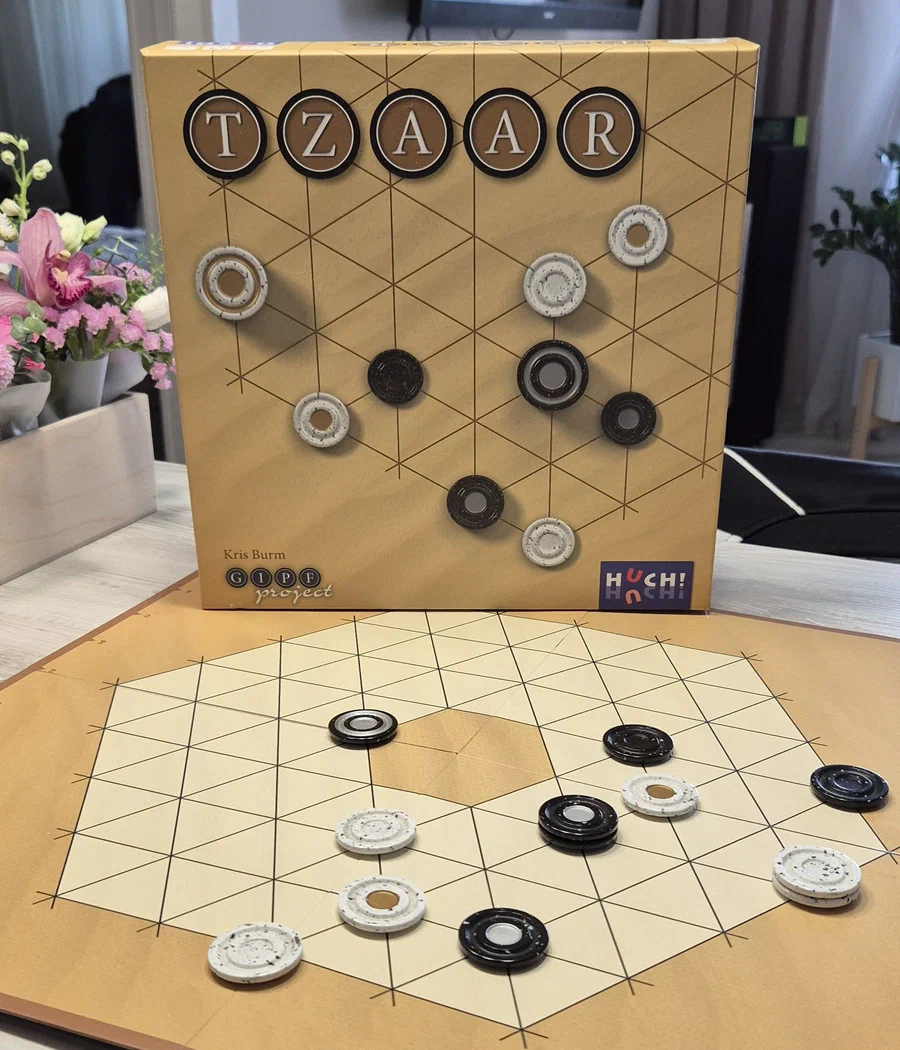
TZAAR (TZAAR) is game number 2 in the landmark Project GIPF by Belgian designer Kris Burm, released in 2007. Chronologically it would fit better as number 7, but the designer chose to retire Tamsk from the project and replace it with this game as a better fit for the overall concept.
Starting setup
Each player has 6 tzaar, 9 tzarra, and 15 tott. At the start, pieces are placed on the grid nodes either randomly or as colour-grouped equilateral triangles. Random setup, in my view, can introduce luck and favour one side, so we usually use the second type.
There is also a tournament setup where players alternately place pieces one by one on an empty board. That adds a meta-game layer — the contest starts before the first move.
The goal is to beat the opponent by capturing all of their pieces of any one type, or by immobilising them — leaving them unable to make a mandatory capture on their turn.
During play you can strengthen pieces and stacks by moving one of your pieces or stacks on top of another of yours (stacks may mix types freely). Stack height is its strength. Strictly speaking a single piece is also a stack of strength one, so we treat all actions as stack actions. Stacks move strictly along lines in any direction up to the first stack they meet (yours or the opponent’s).
On each turn a player makes two actions in a fixed order:
- First action (mandatory) — Capture, capture, and only capture! You must capture an opponent stack whose strength is equal to or less than yours. Capture works like chess: the captured stack leaves the board and the capturing stack takes its place. You cannot skip this action.
- Second action may be one of:
- capture an opponent stack — with the same stack as before or any other;
- stack (strengthen) one of your stacks — again with the same stack or any other;
- pass — this action is optional. In practice, situations where passing helps are rare.
The player who moves first (by the rules White, though that can be treated as conventional) makes only one (the first) action on their first turn. After that, both players take two actions per turn.
Full rules are available here.
In Project GIPF each game has a short second name that captures its essence, plus an associated element. For Tzaar the designer chose “a game of balance” and the element Earth (borrowed from retired Tamsk, yet a perfect fit for how the game plays).
Why “balance”? Because every turn you choose: weaken the opponent with two captures, or strengthen your own pieces. Holding that balance decides the game — leaning too hard on one plan easily walks you into a trap.
Fun fact: you can win in two ways (capturing all pieces of one type, or immobilising the opponent), but lose in three. The extra way is “suicide” — deliberate or accidental — when you stack the last piece of one type under another type.
Typical beginner mistakes:
Same-stack second action
Not wrong by itself, but beginners often forget that the second action need not use the same stack as the first.
Losing track of stack counts
Always watch how many stacks of each type you have. Beginners usually focus on protecting tzaar (sensible early on — there are fewest of them) and sometimes miss that they have far fewer tzarra or tott left.
Overusing the double capture
Playing too aggressively early with constant double captures can leave you short of capture options later.
Strategy and tactics tips:
Two main strategies stand out in TZAAR:
One strong stack
Often preferred by the player who moves second, because their first turn already has two actions while the first player only captures once. It demands careful defence of pieces outside the strong stack. Where possible, stacking like on like (tzaar on tzaar, etc.) preserves more of the other types. Players usually aim for a tzaar stack (sensible — only 6 exist). Isolating smaller stacks or lone pieces can also help. Played well, you end with a tall tzaar stack, one or two small tzarra stacks, and several tott stacks — too much for the opponent to wipe out before you win.
Several small stacks
An ideal opening plan for the player who moves first. Build two-high stacks, try not to lose any on the opponent’s turn, and look for captures. As the game develops, dodge their strong stack and wait for them to make a two-high stack you can take. Meanwhile pick off pieces that are not on top of that strong stack. Remember they can always put other pieces on top of it (e.g. a tott on a tzaar stack). With this plan I also recommend keeping as many pieces of each type as you can — meaning stack tzaar and tzarra onto tott. The opponent will likely hunt your tzaar first, so creating a few tzaar stacks early is wise. Midgame, about three small stacks is usually enough; more makes defence harder. Losing a two-high stack is not tragedy; losing a three-high is worse but not fatal. Losing anything taller is usually bad (unless it was intentional).
Important: the strategies above are baselines only. Real positions dictate the terms — leave room to switch. For example, a player on the several-stacks plan may later merge into a single strong stack.
Capture–stack
In most positions this combination is what keeps the needed balance. Strengthening with the second action:
- improves defence of your stacks;
- increases your capture options against the opponent;
- reduces your piece count on the board, which can later help win by immobilisation.
Use a double capture carefully, and only when the advantage is clear.
Zone of influence
Zone of influence